
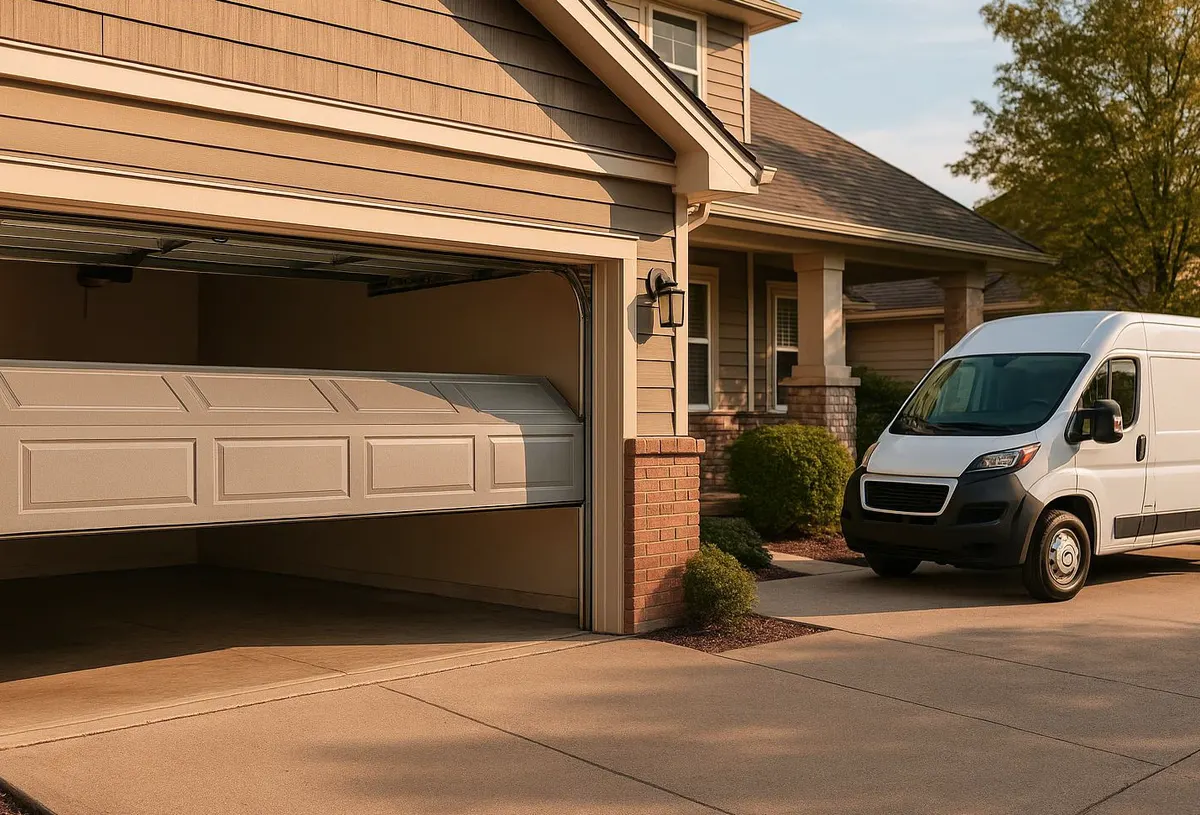
What a Technician Sees on a Typical Call
A service call about a "drafty garage" in this area usually starts the same way. The homeowner points at daylight showing under the door, or they mention finding palmetto bugs, lizards, or even a trail of sand and leaf debris just inside the threshold after an afternoon downpour. Pull the door up and the bottom seal tells the story: it's flattened, cracked, or pulled loose from the aluminum retainer, often with a dark water line where humidity and rain have been wicking underneath for months. Sometimes the wood or steel bottom panel edge is starting to swell or bubble from repeated moisture exposure. None of that is dramatic, but it adds up to higher cooling bills, pest entry points, and a door panel that degrades faster than it should in our climate.
Tools You'll Need
- Tape measure
- Utility knife or box cutter
- Flathead screwdriver or small pry bar
- Replacement vinyl bottom seal (bulb-style or T-style, matched to your existing track profile)
- Rigid vinyl or rubber J-strip weatherstripping for the sides and top, if needed
- Silicone-based garage door lubricant
- Shop rag and a stiff brush
- Flashlight
Step-by-Step: Replacing the Bottom Seal
- Identify your seal type. Look at the bottom edge of the door. Most residential doors use either a bulb seal (round, hollow) or a T-end/bead seal that slides into a retainer channel. Buying the wrong profile means it won't seat correctly, so bring a small cut sample to the store if you're unsure.
- Measure the door width. Add a few inches of slack for trimming.
- Lower the door and disconnect the opener. Pull the manual release so the door won't engage automatically while you're working at the bottom edge.
- Pull the old seal free. Most slide out of the aluminum retainer by hand or with gentle prying from one end. Discard it along with any debris packed into the channel.
- Clean the retainer and the floor contact area. Salt air and humidity leave grit and light corrosion in the channel; a stiff brush and rag will clear it so the new seal seats fully.
- Feed the new seal into the track, starting from one end and working across. It should slide with light resistance, not force.
- Trim to length with the utility knife, leaving a small overhang on each side so it compresses against the door jambs.
- Close the door and check with a flashlight from inside, looking for any light gaps along the bottom edge. Re-seat or trim as needed.
- While you're at it, inspect the side and top J-strip weatherstripping nailed or stapled to the jambs. If it's brittle, cracked, or pulled away, replace those strips the same way — pry out old fasteners, press in new strip, re-fasten. This is where wind-driven rain during storms tends to find its way in if the seal has gone stiff.
What's Reasonable for a Homeowner to Do
Bottom seal replacement, side and top J-strip weatherstripping, and general cleaning of tracks and channels are all within reach for most homeowners with basic tools and an hour or two. These are low-risk jobs since you're not touching anything under spring tension.
What Needs a Technician
Stop and call a professional if you notice any of the following while you're down there:
- The bottom bracket or cables near the bottom corners look frayed, rusted through, or loose — these are under spring tension and dangerous to handle without training.
- The track itself is bent, rusted through, or the door doesn't sit flush even with a new seal installed.
- The bottom panel is visibly swollen, delaminating, or soft to the touch, which usually means moisture has gotten into the panel core over time.
- The door doesn't close evenly on both sides, which often points to a balance or spring issue rather than just a worn seal.
When to Call Jacksonville Garage Door Pro
If your inspection turns up a warped or rotted bottom panel, our team can handle Garage Door Panel Replacement so the new seal actually has a sound surface to seat against — there's no point installing a fresh seal on a panel that's already failing. If the track is bent or the door has started riding off-center, that falls under Off Track Door Repair, and it's worth having a technician check the rollers and alignment at the same time, since a damaged track often gets worse with each cycle, especially heading into storm season when wind load puts extra stress on the door. We also recommend a general tune-up before the heaviest stretch of hurricane season passes, since it catches small issues like loose hardware or corroded bottom brackets before they turn into an emergency call.
If you're dealing with gaps, rust, swelling, or a door that just doesn't seal the way it used to, call Jacksonville Garage Door Pro for same-day service across Jacksonville, FL and the surrounding beaches communities. We'll get it sealed up tight and ready for whatever the weather brings next.